Your First Survey
Create Your First Survey
In the previous section, we created our first study, added a few Data Sources, and enrolled as a participant. So far, our study collects sensor data behind the scenes and uploads it to the Researcher Dashboard. In this section, we'll expand our study by adding a few surveys.
To start, navigate to the Researcher Dashboard, and from the left panel click on Activities.
Activities are the tasks participants are asked to do during their participation,
such as surveys, Matrix Reasoning tests, or Time Use diaries.
Click on Create New Activity, and select Survey to create your new survey. After creating the survey, you will be
taken to the Activity Editor interface:
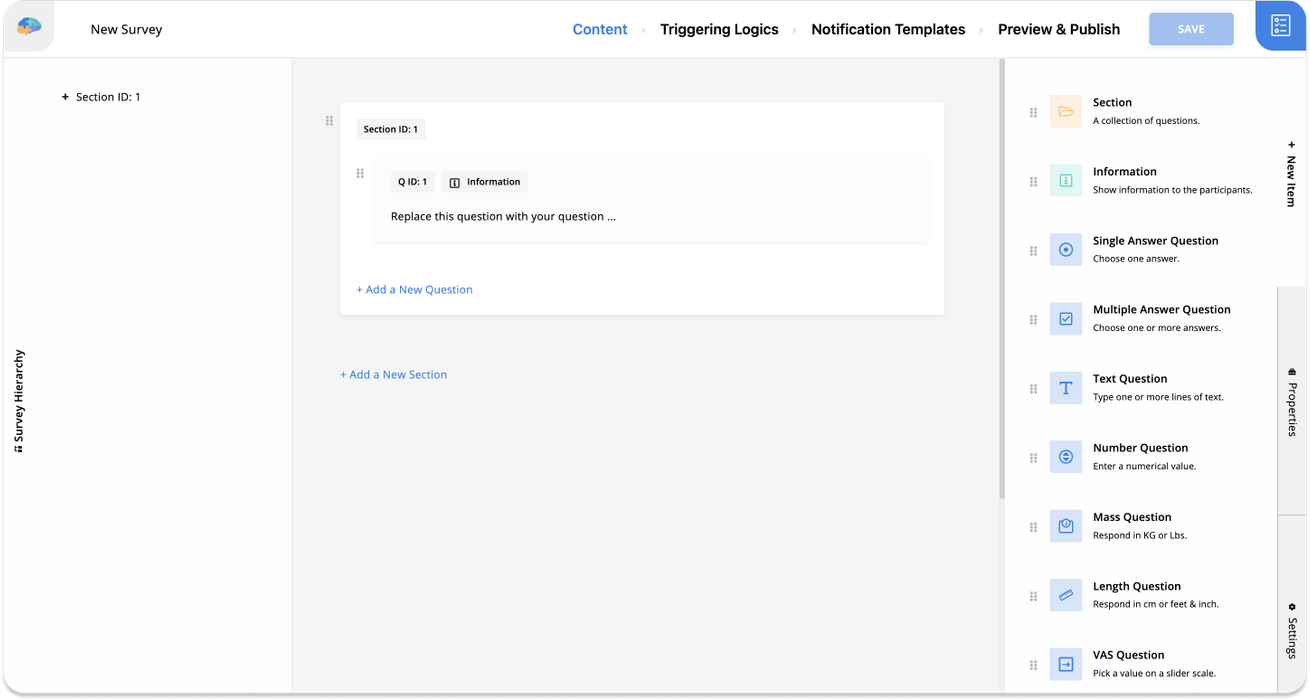
If you publish the survey as is, Avicenna would add a button to the home screen of the participant's app, labeled
New Survey Trigger, and allow them to start the survey by tapping on it. Now, we want to rename this button to
Exercise Motivations. So from the top part of the Activity Editor, open the Triggering Logics section, and click on
the Edit button for the existing User Triggering Logic there:
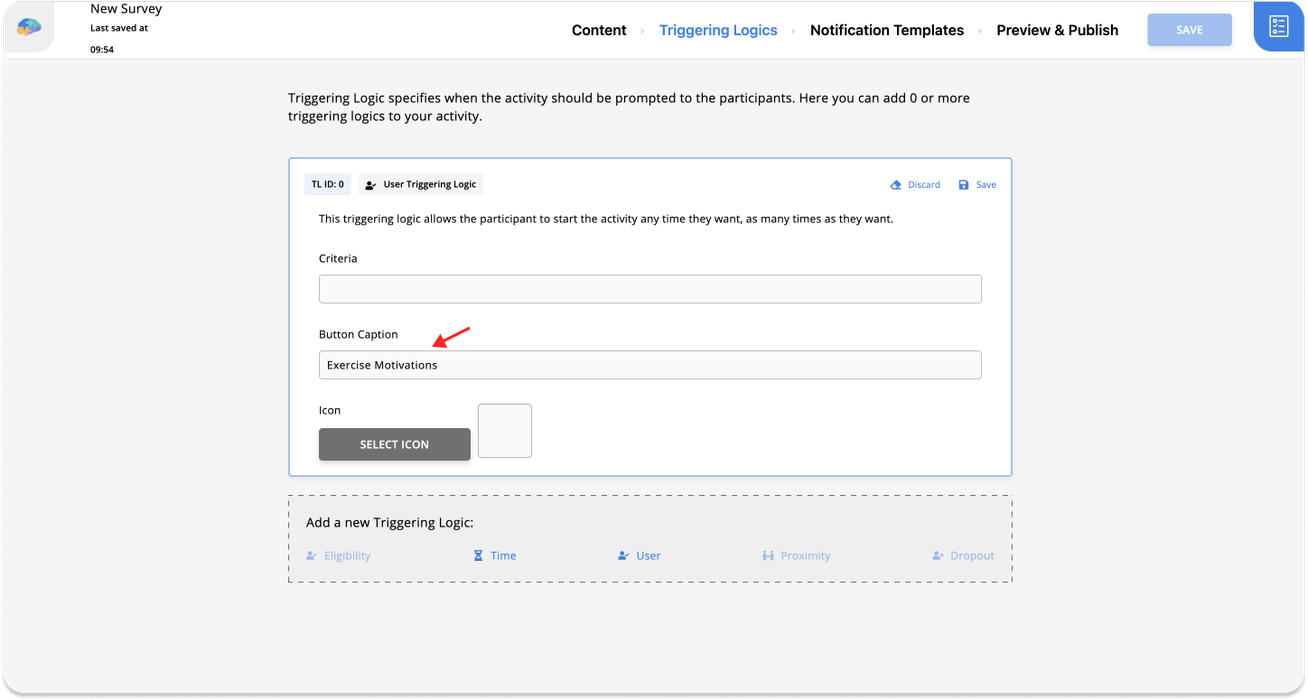
Then modify the Button Caption box from New Survey Trigger to Exercise Motivations, and save the changes.
Note that as you change your survey, it's saved automatically on the server. You can also save it by pressing the Save
button in the top right corner.
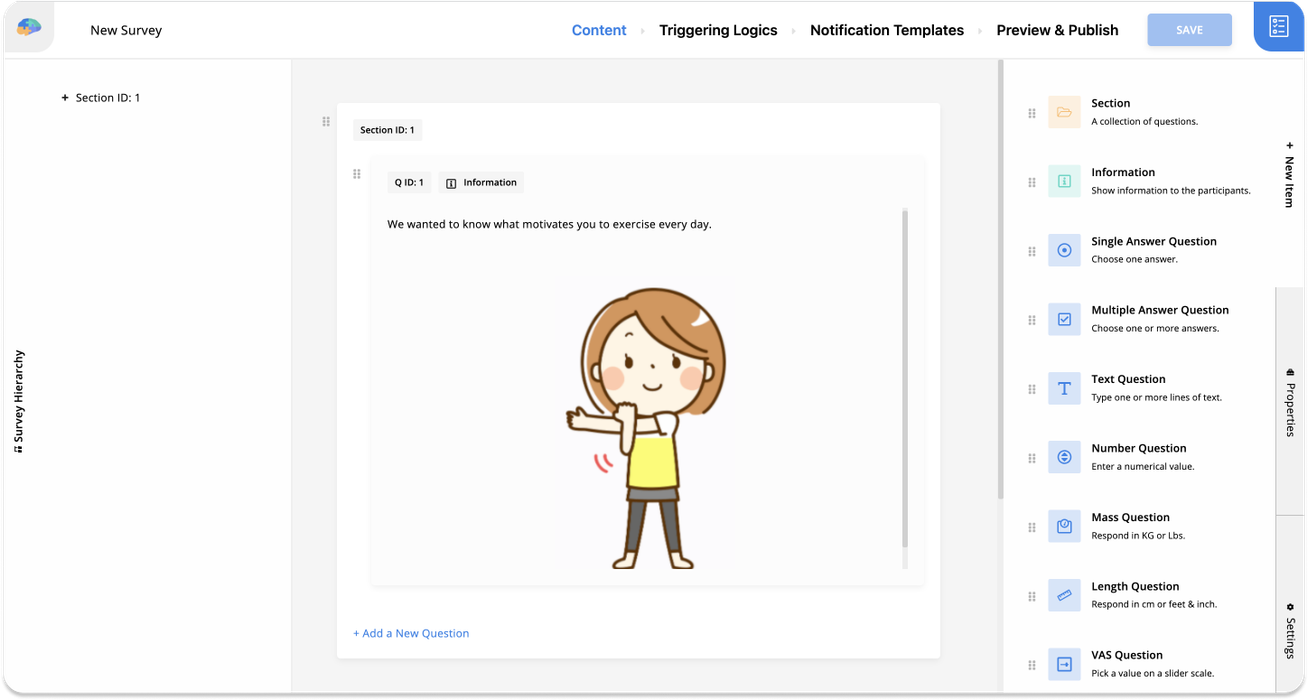
Switch to the Content page. You will see there is one Information question already with
Question ID 1. Click on the Edit button next to the
question to start editing the question. Then change the content of the question to:
We wanted to know what motivates you to exercise every day.
We also want to add an image to our question's content. Click on the image icon on the text area toolbar to open the
image selector. Upload the image you want to add to this question. Then click Select to choose this image. When done,
you can click on the Save button to save the changes.
Now we want to add a new question to this section. You can choose the question from the right-side panel, labeled
New Item, and drag and drop it below the current question. Here we want to ask participants to take a picture of what
motivates them to exercise, so we will use an Image question with the following content:
Please take a picture or upload a photo of what motivates you to exercise.
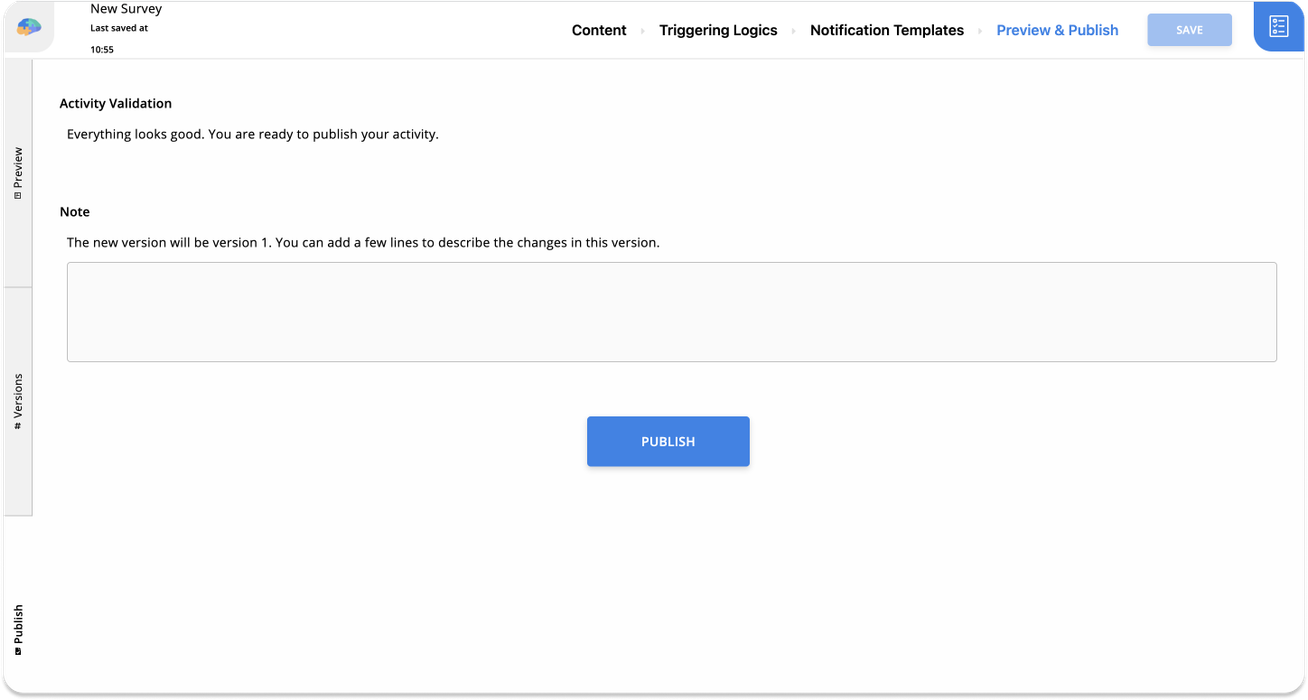
We now should publish our survey to allow our participants to access it. To do so, go to the Preview & Publish section
and click on the Publish tab on the left side. Then click on the Publish button.
Respond to Survey As a Participant
Let's go back to our dummy participant account and check our new survey there. As we chose Avicenna to update participants' devices as well during the publish, when you open the app now, you should see the button for your new Survey on the home screen of the app.
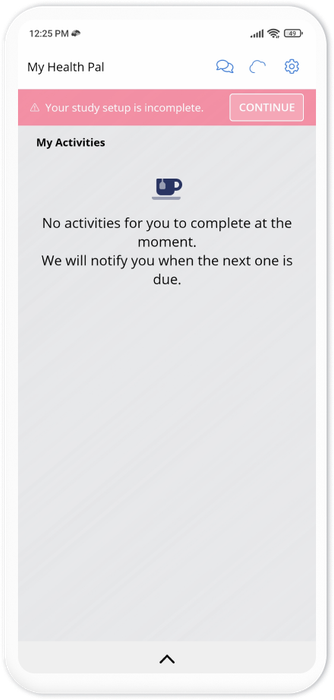
If you do not see this button, just close and reopen the app and the button should appear as above.
Click on the Exercise Motivations button to open the survey in the app. You will see the first question and the image
we added to it.
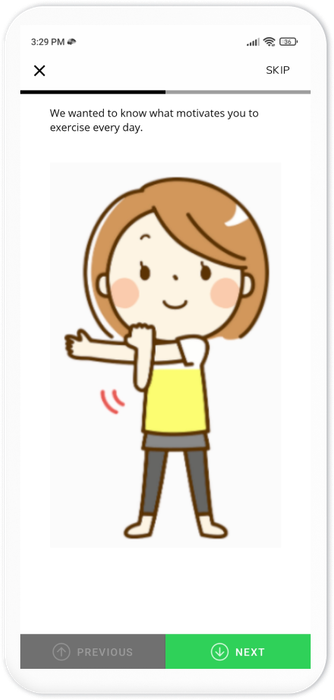
Press Next to go to the second question. In the second question, we are asked to either upload a photo from our device
or take a photo with the camera.
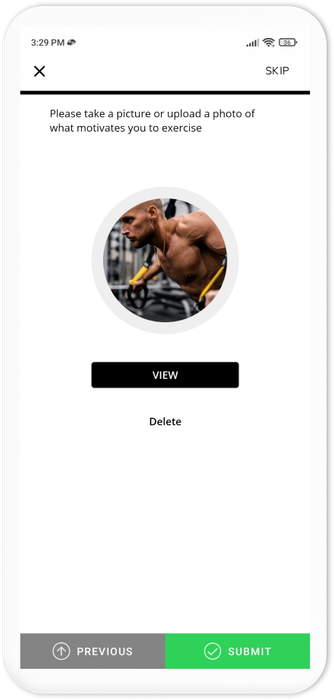
Press Submit to finish the Survey and upload the responses.
View Participant Responses
Now let's switch back to our Researcher role, and check the response from our participant on the Researcher Dashboard. First, you need to go to the Activity Sessions page. This page allows us to see the activity sessions participants have had so far, or are scheduled to have in the future.
On this page, you can filter the data based on Participants and Activities. You can also select a date range, which
can be set to daily, weekly, monthly, or yearly views.
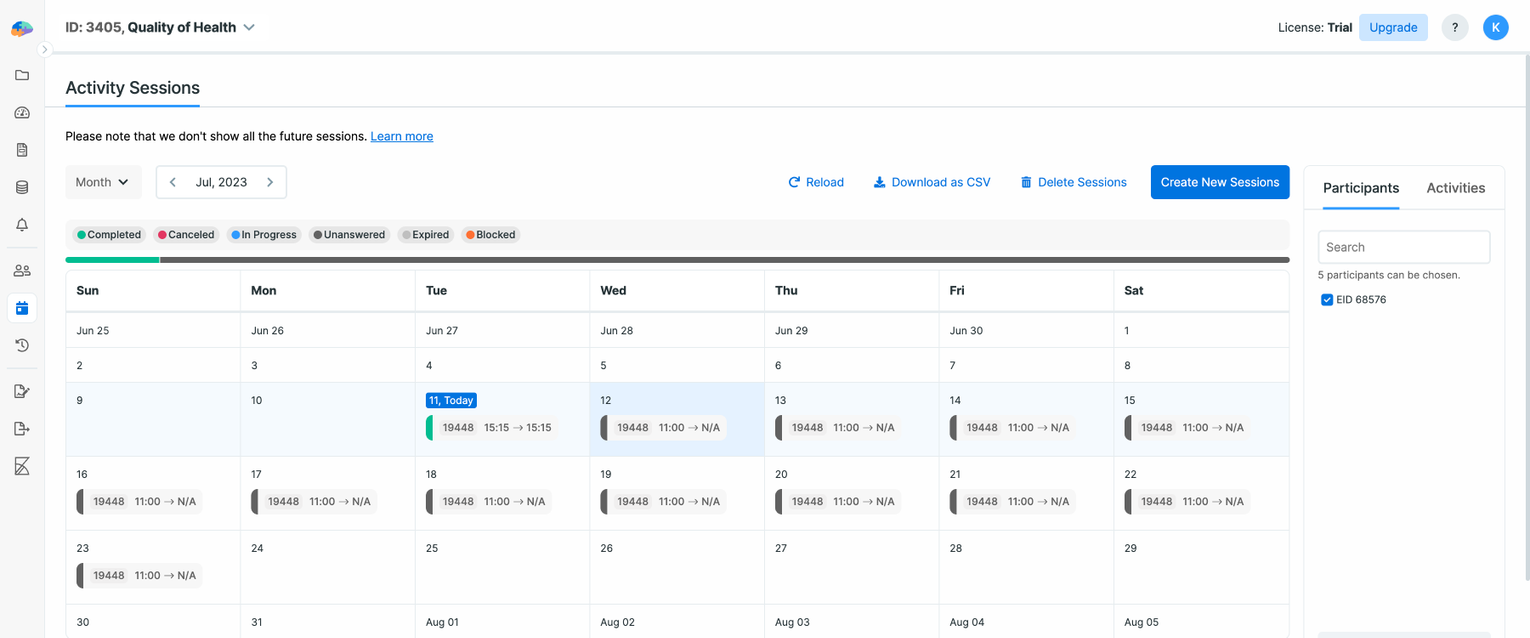
You can see above that participant ID 68576 has responded to survey ID 19448. You can see at what time the survey started and finished.
On this page, you can see all sessions for all participants, whether those that are already past or the upcoming ones. For each session, the page shows their status, for example, completed, blocked, expired, or canceled.
Now let's view the provided responses. On Researcher Dashboard, click on Activity Responses. On this page, we also should start by selecting the survey we want to look at.
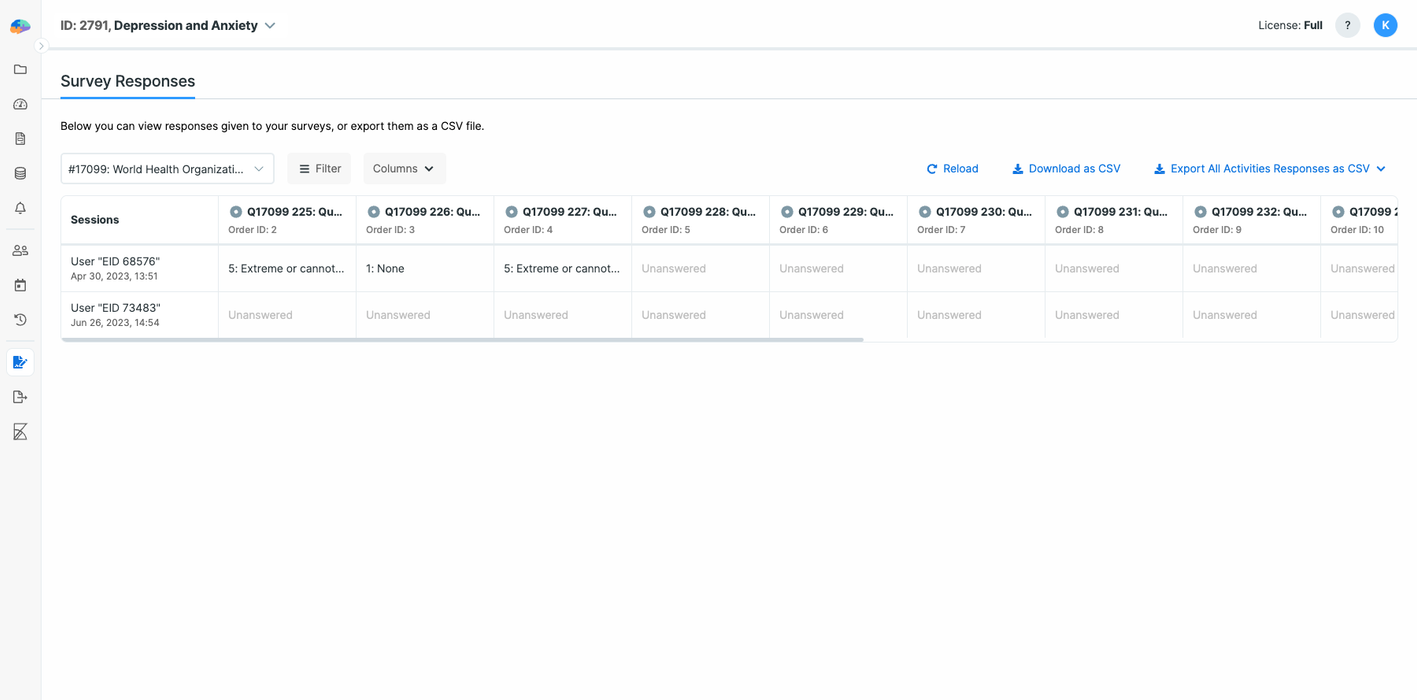
Note that you can click on each cell of the table to see more information. For example, clicking on the first cell of each column will show more details about that user. Clicking on each cell in the next columns shows the response of the participants to each question.